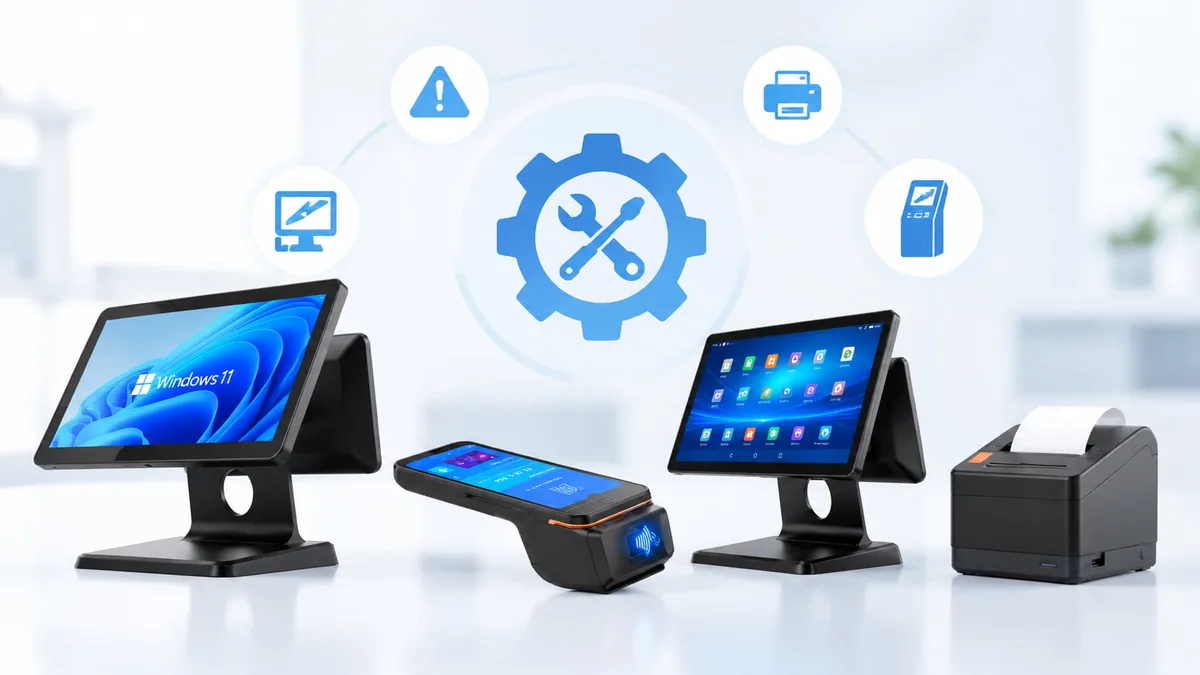
Upgrading RAM and SSD
in a POS Terminal.
Whether you can upgrade memory and storage depends on one thing: the mainboard platform. Windows-based terminals accept M.2 or mSATA drives and SO-DIMM memory, while Android boards solder both to the board. Identify your platform first — then follow the steps for your unit.
Android or Windows — What Can You Actually Replace?
The rear panel opens on every model, and opening it to service user-replaceable parts does not affect your warranty. What changes is what you find inside, and that is decided by the mainboard platform rather than by the size of the terminal.
Read the table before ordering any part. On an Android board, one of the two parts most people want to upgrade cannot be upgraded at all.
| Part | Android POS terminal | Windows POS terminal |
|---|---|---|
| SSD / storage | Soldered eMMC — not replaceable | M.2 or mSATA — replaceable |
| RAM / memory | Soldered to the board — not replaceable | SO-DIMM — replaceable |
| Mainboard fan | Replaceable | Replaceable |
| CPU / CMOS battery | — | Replaceable |
| Port terminals | USB-A and DC input only, and soldering is required — return to supplier | External connectors only; on-board ports are not replaceable |
| LCD screen | Replaceable | Replaceable |
| Touch screen / controller | Replaceable | Replaceable |
| Power adapter | Replaceable | Replaceable |
| Casing | Replaceable | Replaceable |
| Mainboard itself | Board swap or chip-level repair only | Board swap or chip-level repair only |
Read this before buying parts
- · On an Android terminal, RAM and storage are soldered to the mainboard. They cannot be upgraded. If you need more memory or storage, that is a model-selection decision rather than a field upgrade — choose a higher-specification Android model, or a Windows model.
- · On a Windows terminal, both are field-replaceable. Storage may be M.2 or mSATA; both types can be swapped. Memory, the mainboard fan and the CMOS battery can also be replaced.
- · Confirm the platform first. Everything else follows from it.
A note on port terminals
USB-A and DC input terminals can be replaced on an Android board, but the operation requires desoldering and reflowing the joint. That places it outside field service — units needing a port terminal replaced should be returned to the supplier.
On a Windows board the same boundary applies in a different form: only the external connector terminals are replaceable. On-board ports such as HDMI or RJ45 are mounted to the board and cannot be individually changed.
Your Model's Replaceable Parts
Find your model in the table below before dismantling anything. The split is by platform, not by form factor, so two terminals of similar size can behave very differently.
| Platform | Models | Replaceable | Not replaceable |
|---|---|---|---|
| Android | SN-A10, SN-A15, SN-F10 | LCD screen, touch screen, mainboard fan, power adapter | Soldered RAM, soldered eMMC, mainboard (board swap or chip repair only) |
| Windows | SN-B10, B20, C20, C30, F20, W50, P10, P20, P30, P60, P90 series | SSD, RAM, mainboard fan, CMOS battery, power adapter, touch screen, LCD screen, casing | Mainboard (board swap or chip repair only) |
Two models are easier to service
On the SN-P20 and SN-F10, the mainboard is mounted on a bracket. Removing the fixing screws exposes the board directly, which makes both the upgrade itself and any future service work noticeably quicker than on units where the board sits behind the chassis.
Which Symptoms Actually Point to an Upgrade?
Performance complaints have several possible sources. These are the patterns that an upgrade genuinely resolves.
| Symptom | Points to |
|---|---|
| Terminal slow to boot and slow in the POS application | Memory pressure |
| Storage reported full despite few files | Small boot volume |
| Application updates will not install | Insufficient storage headroom |
| Freezes under load, at peak hours only | Memory pressure |
| Disk error or intermittent boot | Storage wear |
Before You Open Anything
Five minutes of preparation prevents the two outcomes that turn a routine upgrade into a service call: a lost configuration, and a static-damaged module.
Back up the terminal — configuration, license keys and any locally stored transaction data.
Record the exact model, serial number and current configuration so you can compare after the change.
Disconnect power, network and all peripherals. Press the power button once after disconnecting to discharge residual charge.
Work on a static-free surface and ground yourself before touching any component. Retail environments are dry and static damage to memory modules is permanent.
Place removed screws somewhere they will not be lost, and photograph the interior before removing anything.
Memory Upgrade
Applies to Windows-platform terminals. On an Android board there is nothing to open here — memory is soldered.
-
1
Locate the memory slot on the main board.
-
2
Release the retaining clips at both ends of the slot.
-
3
Lift the module out, holding it by the edges.
-
4
Align the notch on the new module with the key in the slot.
-
5
Insert at a shallow angle, then press down until the clips engage.
-
6
For dual-channel operation, fit matched modules in pairs.
-
7
Confirm the capacity your model supports before purchase — exceeding it will prevent the unit from posting.
Check the DDR generation before ordering. A module of the correct physical size but the wrong generation will not seat fully and will not be recognized. The platform determines whether you need DDR4 or DDR5.
Storage Upgrade
Windows-platform terminals accept either M.2 or mSATA storage. Identify which your unit carries before ordering, because the two are not interchangeable.
M.2 storage
- 1. Remove the retaining screw at the end of the M.2 slot.
- 2. Withdraw the drive at a shallow angle.
- 3. Align the key on the new drive with the slot and insert.
- 4. Press flat and refit the retaining screw.
mSATA storage
- 1. Locate the mSATA slot and remove the fixing screw.
- 2. Withdraw the module at a shallow angle.
- 3. Fit the replacement and press down into the connector.
- 4. Secure with the fixing screw and confirm the module sits flush.
Replacing the primary drive removes the operating system. Have the platform image or recovery media ready before you start. The unit will not boot to a working desktop until the image has been restored.
An M.2 module of the wrong protocol will physically fit but will not be detected. Confirm NVMe or SATA compatibility before purchase rather than after. The same upgrade on a fanless mini PC chassis is covered in upgrading RAM and storage in fanless mini PCs, and the full set sits in the troubleshooting index.
Where a 2.5-inch bay is fitted
Remove the bay cover and mounting screws, disconnect the data and power connectors, lift the drive out and fit the replacement. Reconnect both connectors and secure the drive. On units where the bay shares a channel with the M.2 slot, fit one or the other rather than both — confirm with your supplier before ordering.
Post-Upgrade Verification
Do not return the terminal to the counter until every item below passes. A partial upgrade that boots is not the same as an upgrade that works under load.
Power on. The first boot after a change can take longer than usual.
Confirm the new memory capacity is recognized.
Check Installed RAM under System, and disk capacity under This PC.
Confirm the POS application launches and can reach its peripherals.
Print a test receipt to confirm the printer link is intact.
Run a normal transaction end to end.
When Not To Do This Yourself
Stopping before you begin is cheaper than stopping halfway. These are the cases where the correct route is a factory upgrade or a higher-specification model.
✓ Proceed if
- · Your terminal uses a Windows platform
- · The module type has been confirmed against the board
- · You have the correct tools and an anti-static strap
- · Recovery media is ready if the boot drive is being replaced
! Contact your supplier if
- · The terminal uses an Android board and you need more RAM or storage
- · A port terminal needs replacing
- · You are unsure which module your model supports
- · The unit is already exhibiting boot or disk errors
Does opening the terminal affect the warranty?
No. Our warranty covers non-human-induced defects. Removing the rear panel to service memory, storage or other user-replaceable parts does not void coverage, provided the work is carried out carefully and no components are damaged in the process.
Damage caused during an upgrade is not covered. That includes static discharge, bent pins, forcing a module into a slot, fitting an incompatible part, and liquid ingress. This distinction matters: the warranty protects the terminal, not the upgrade attempt.
Related Troubleshooting Guides
The same platform rules apply across our hardware. These guides cover the adjacent cases.
Upgrading RAM and Storage in Fanless Mini PCs
The same rules on a different chassis, with the slot table for each X-series model.
Stuck on Boot Logo
What to check when the terminal does not reach the desktop after a hardware change.
POS Screen Is Black But the Terminal Is On
Separating a display fault from a mainboard fault before ordering parts.