Cash Drawers
Manual and Printer-Triggered.
We engineer the line of defense for your physical revenue here. TillNode builds industrial-grade POS cash drawers with thick cold-rolled steel and shatter-resistant ABS trays. We guarantee smooth, jam-free transactions for millions of checkout cycles.
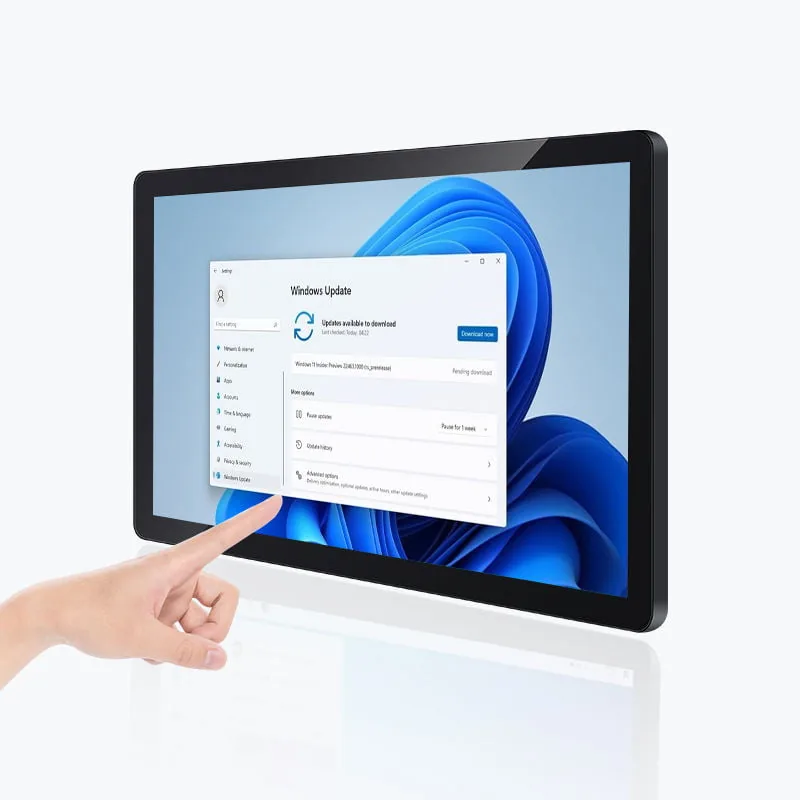
One Cash Drawer for Every Counter.
From full-size supermarket tills to compact boutique drawers—choose the exact configuration that matches your currency, counter space, and operational demands.
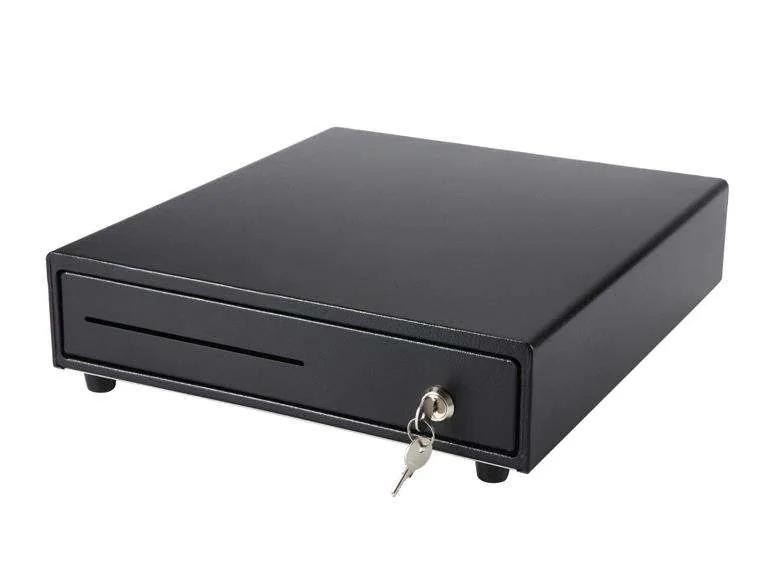 Most Popular · 410mm
SN-CD410 Standard Cash Drawer
410mm Width | 5 Bills / 8 Coins | Dual Media Slots (for checks/coupons) | RJ11 Interface
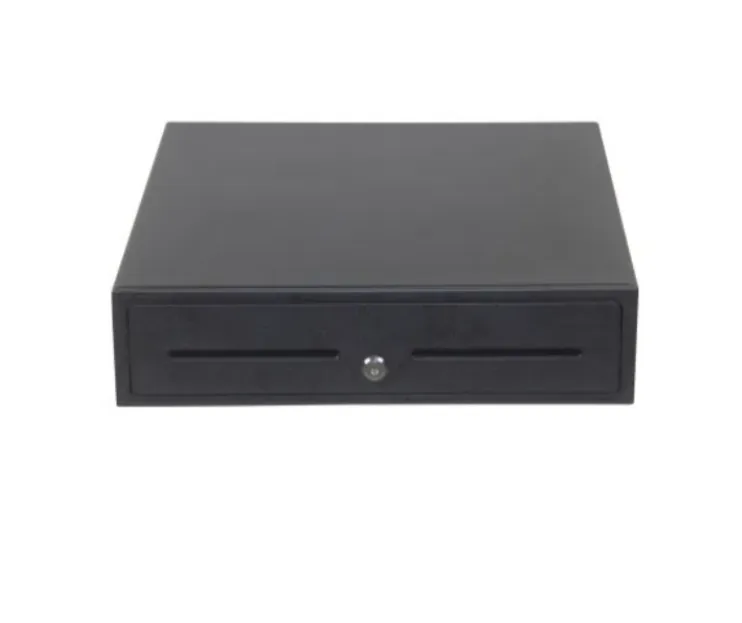 Compact · 330mm
SN-CD330 Compact Cash Drawer
330mm Width | 4 Bills / 5 Coins | Space-Saving Footprint | RJ12 Interface
Drawer Layout: Bill Compartments, Coin Trays and Insert Trays.
A POS cash drawer is not one molded box. It is a tray, a set of inserts and a steel body working together — and the way we arrange those three parts decides how quickly a cashier counts, hands over change and reconciles a lane at close.
How to Divide a Cash Drawer
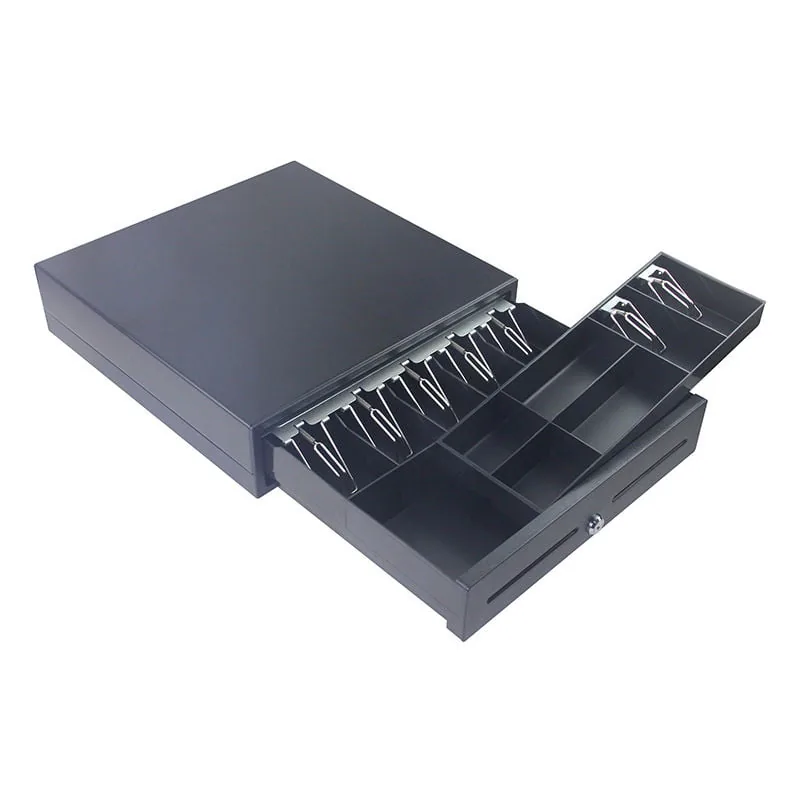
Lift the tray out of any retail cash drawer and you will find three distinct zones. The bill compartment — the long slots across the back — holds notes laid flat and separated by denomination. The coin tray or coin cup section sits in front of it, with shallower wells sized for the denominations your currency actually uses. Below the lift-out tray is the under-tray well: the full depth of the steel chassis, used for large notes, checks, coupons and anything you would rather not leave visible to a customer.
That three-zone layout is why two drawers with outwardly similar footprints behave very differently on a busy lane. A drawer with eight shallow coin wells suits a currency with many small denominations in daily use. A drawer with five deeper wells suits a currency that carries most of its volume in notes. Neither is better on paper; one is better for your till.
Fixed Molded Trays vs Adjustable Insert Trays
Most production drawers leave the factory with a fixed ABS tray molded for one currency format. That keeps unit cost down and is entirely adequate when a chain standardizes a single market, a single currency and a single opening float. Adjustable versions replace or supplement the molded tray with removable insert trays, dividers and coin cups that you can reposition to change the number and width of compartments.
A cash register drawer insert tray takes the same idea further: the entire bill and coin layout lifts out as one piece, so you can re-specify a register drawer for a new currency or a new counting routine without replacing the steel body underneath it.
The practical difference shows up at two moments. The first is a currency change — a chain expanding from one market to another, or a market introducing a new note. A fixed tray becomes scrap; you re-divide an adjustable tray in a minute. The second is a mixed estate, where a single spare-parts stock has to service lanes with different denomination mixes. Adjustable inserts cut the number of tray variants you hold.
Matching Compartment Counts to Your Currency
Start from the denominations you handle every day, not from the denominations that exist. Count the note values a cashier touches in a normal shift and add one slot for the notes that arrive rarely but you must separate immediately. Then repeat the exercise for coin. A layout that leaves no empty compartment wastes tray space; a layout that forces two denominations into one well makes miscounts at close far more likely.
This is also the point where a cash register configuration stops being a hardware question and becomes an operational one. The drawer you choose should mirror the way you count your float, not the other way round — the counting routine is the expensive part, and it repeats every single day.
Cash Drawer Configuration Reference
| Format | Width | Bill Compartments | Coin Compartments | Media Slots | Access Control |
|---|---|---|---|---|---|
| Compact | 330 mm | 4 | 5 | 1 | 3-position key lock |
| Standard | 410 mm | 5 | 8 | 2 | 3-position key lock |
| Wide format | 460 mm | 6 | 8 | 2 | 3-position key lock |
| Adjustable insert | 330–460 mm | configurable | configurable | optional | key lock + micro-switch |
| Custom tray to order | to specification | up to 6 | up to 10 | optional | to specification |
Compartment counts are typical reference layouts. We set final tray geometry per currency at order stage.
Bill compartments
Long, shallow slots that hold notes flat and separated by denomination. Width and count are what change most between currencies — the euro and sterling sets occupy different slot widths, so a tray built for one market rarely fits another without adjustment.
Coin trays and coin rolls
We size coin wells by denomination, not by volume. Deep wells hold loose coin for change; we shape shallower wells to take a wrapped coin roll. Getting this split right is what keeps a cashier from scooping across two denominations when the queue is long.
Removable insert trays
Lift-out inserts let the same steel chassis serve several currency layouts. They also simplify end-of-day verification: you can carry the whole tray to a counting station and swap it for a second tray, so the lane reopens without waiting for the count to finish.
Register Drawer vs Cash Drawer vs Till Drawer.
Three names, one piece of hardware. Understanding which term belongs to which market is worth five minutes — it is usually the difference between quoting the right configuration and quoting a drawer the buyer did not ask for.
Cash drawer
The neutral, technical name used on datasheets, in POS software settings and in service manuals. When a configuration screen asks for a "cash drawer", it is asking which port the printer pulses and whether the drawer reports its open state back.
Safest term for a purchase order, a spec sheet or a technical drawing.
Till drawer
Retail and hospitality vocabulary. The word began as the name of the drawer itself, not the money inside it, and in accounting use the till is the cash in the drawer at a given moment — a till can be short or over by close. In day-to-day use, staff call the drawer a till drawer, and a request for "the drawer till" means the same unit. Expect this wording from store managers rather than procurement teams.
Common in grocery, convenience and food service conversations.
Register drawer
The name that follows the register. A register drawer is the drawer attached to a cash register, and in North American usage it covers everything from an integrated register body to the standalone steel drawer under a touch screen terminal.
The term most common in US and Canadian procurement documents.
Why the Three Terms Search Differently
Buyers do not search the way engineers write. A store owner replacing a broken unit types "till drawer"; a US-based operations manager standardizing a rollout types "register drawer"; an integrator writing a bill of materials types "cash drawer". All three arrive at the same hardware class, but they arrive with different expectations about what they will find. The three senses of the word, and which one a British buyer usually means, are separated in what an EPOS till is.
That gap is worth closing in the page itself. If a retailer searches for a retail cash drawer and lands on a page that only ever says "cash drawer", nothing is wrong — but nothing confirms they are in the right place either. Naming the aliases explicitly, as this section does, removes the doubt and answers the question before it turns into an inquiry.
Which Term Belongs on a Spec Sheet
For anything that leaves your building — a purchase order, a tender document, an internal standard — use cash drawer and describe it by the properties that actually vary: chassis width, compartment count, lock type, interface and voltage. Those five fields resolve every ambiguity that the label alone cannot.
Keep the aliases for the places where they help: search, store-level training notes and conversation with counter staff. A short line such as "cash drawer (also referred to as a till drawer or register drawer)" costs nothing and prevents a genuine category of mistaken inquiry. If you are building out a wider front-end hardware list, our POS cashier machine buyer's guide covers where the drawer sits relative to the terminal, the printer and the scanner.
Engineered to Outlast Your POS.
We entirely reject flimsy materials. We build our hardware to withstand the punishing rhythm of high-traffic retail environments.
1.2mm SGCC Steel
Uncompromising Strength
We utilize premium SGCC cold-rolled steel for the chassis. We ensure exceptional resistance against prying, impact, and daily wear.
1-Million Cycles
Silent Roller Lifespan
Heavy-duty polyurethane rollers and steel ball bearings replace cheap plastic sliders. We guarantee a silent, frictionless opening every single time.
12V / 24V · RJ11/12
Universal Plug & Play
We equip dual-voltage solenoids (12V/24V) and standard RJ11/RJ12 interfaces. We achieve instant compatibility with EPSON, Star, and TillNode receipt printers.
3-Position Key Lock
Bank-Grade Access Control
A secure 3-position lock (Manual Open, Electronic Open, Locked) provides complete access control. Micro-switches accurately report drawer status to POS software.
Plug. Play.
Synchronize.
We avoid integration headaches. We equip standard RJ11 and RJ12 interfaces natively.
Our micro-switch technology supports both 12V and 24V printer setups. We guarantee compatibility with all major POS terminals and receipt printers. We unify your hardware ecosystem immediately.
The electrical side is worth settling before a specification is written: how the kick-out pulse is wired and rated sets out the six-pin assignment, the difference between a drawer's voltage rating and a printer's output, and the command that fires the drawer.
Secure Cash Management for Every Counter.
From bustling supermarket lanes to intimate café bars—our drawers adapt to any commercial cash-handling workflow.
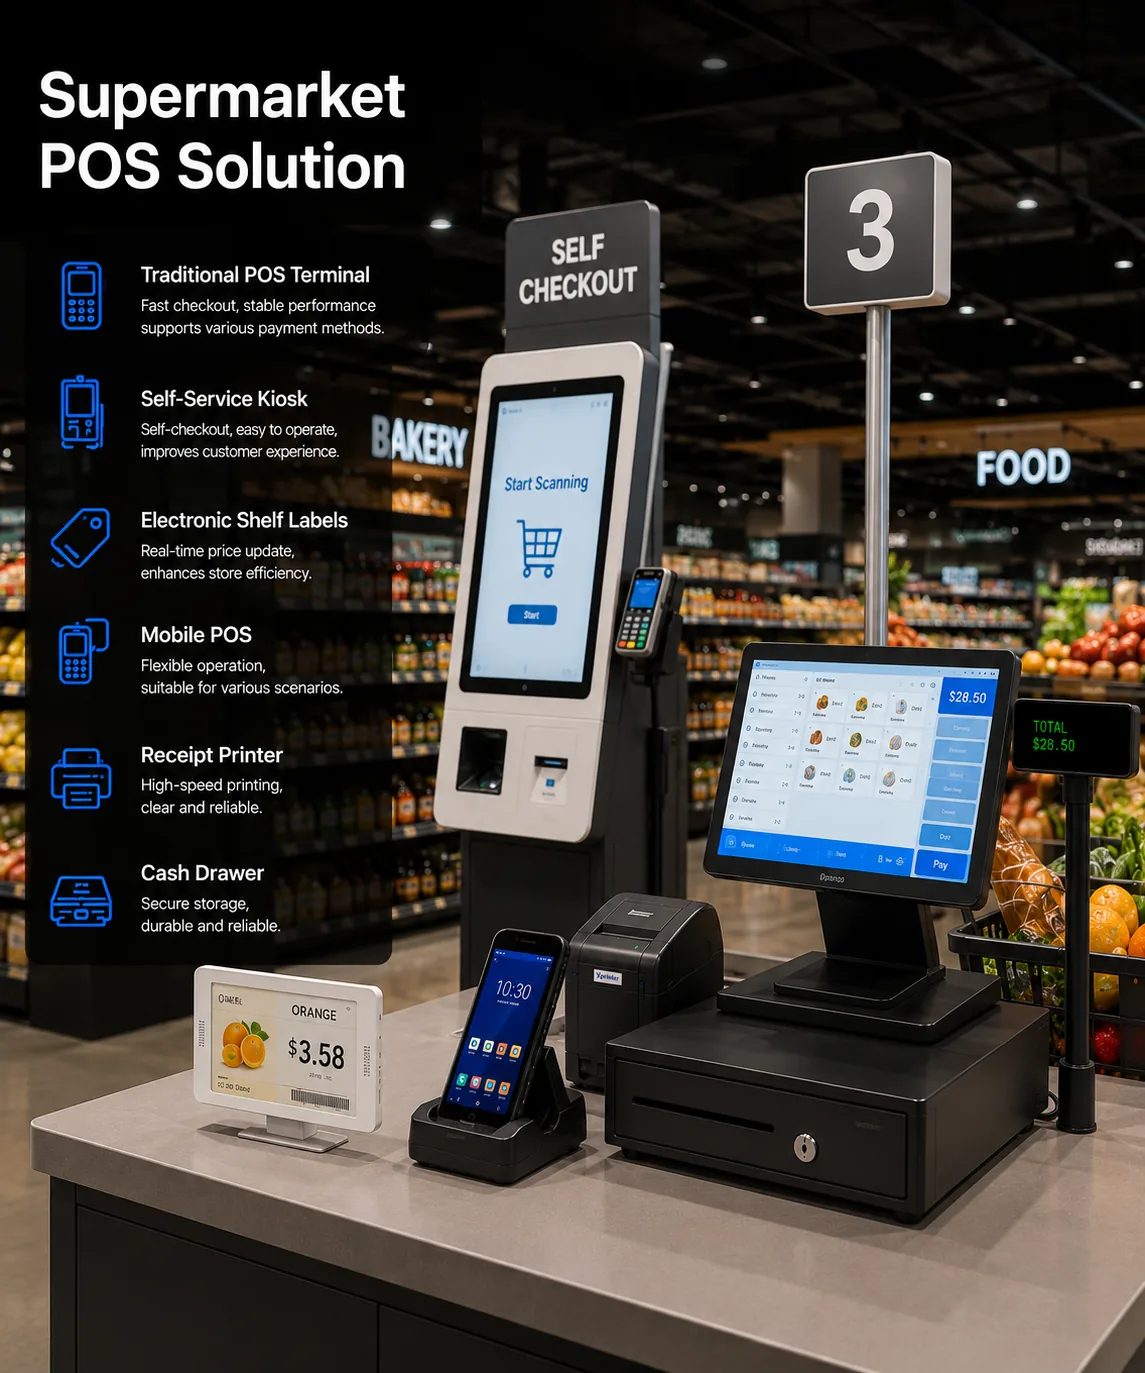
High-Volume Supermarkets
Our heavy-duty models handle constant drawer openings. Dual media slots allow cashiers to quickly slip in large bills, checks, or receipts without opening the till.
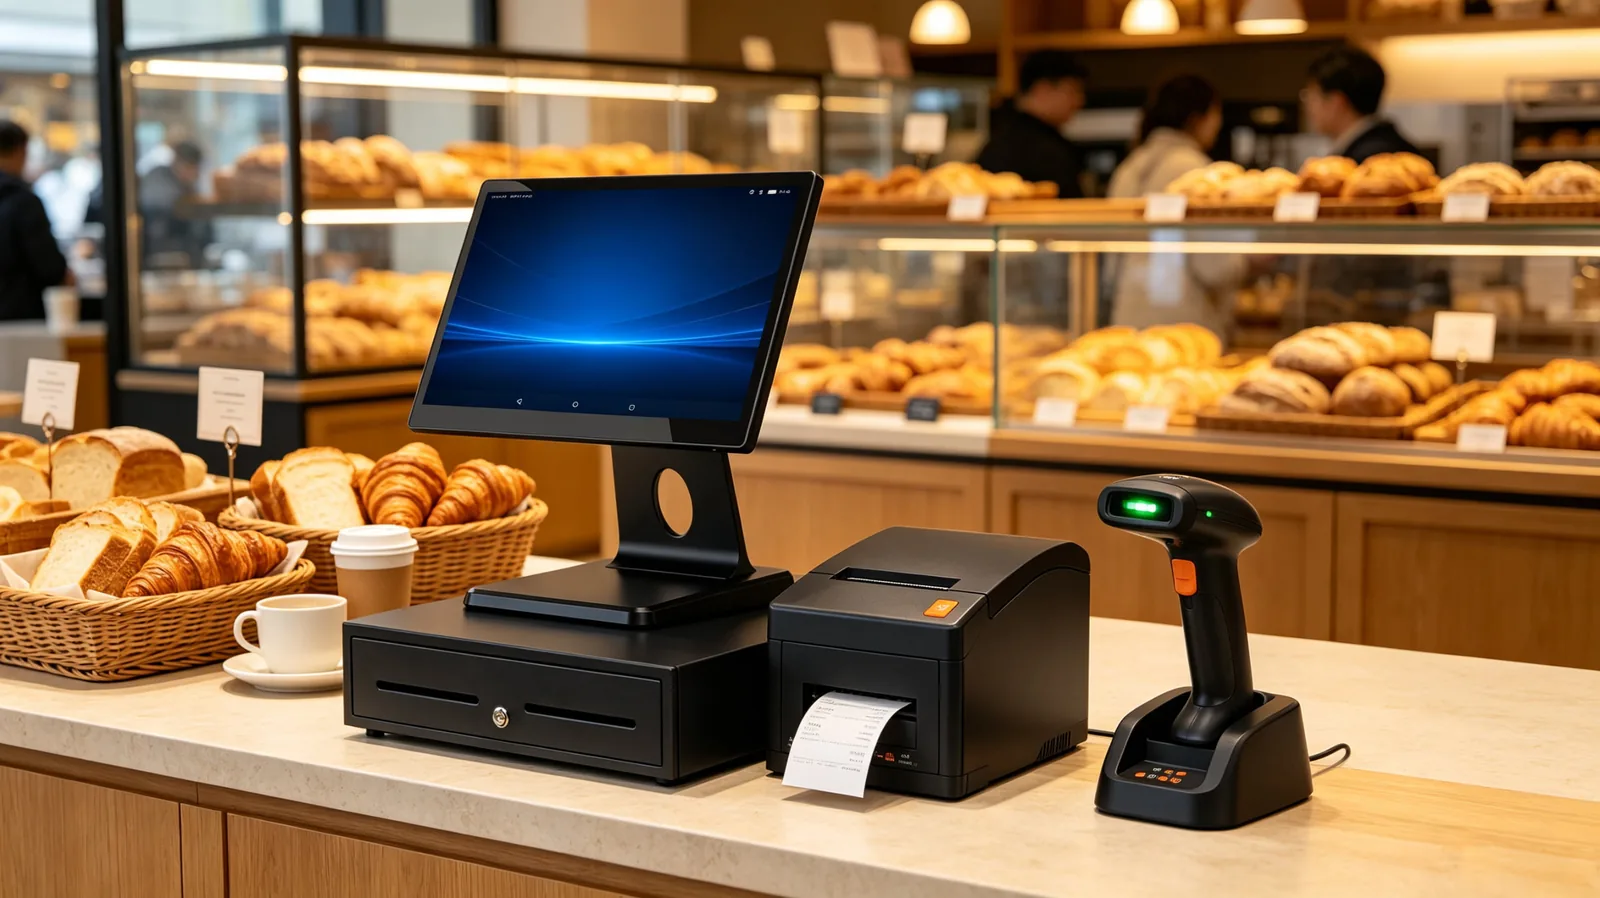
Boutiques & Cafes
We highly value counter space. Our compact series maximizes utility while maintaining a sleek, modern aesthetic beneath your touch screen POS.
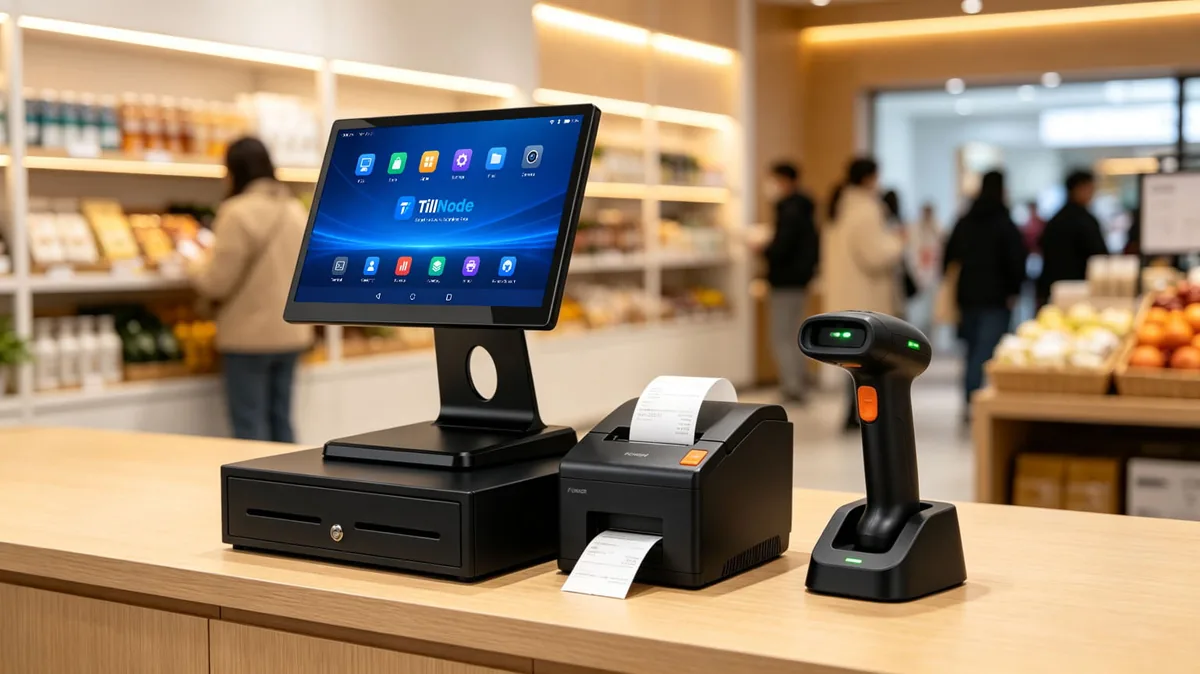
Pop-up Shops & Events
Our push-open models eliminate power dependency. You deploy secure cash storage immediately anywhere, without the need for receipt printer wiring.
How to Set Up Denominations in a Retail Cash Drawer.
A cash drawer is only as fast as its layout. A repeatable cash drawer setup is a process rather than a one-off decision — these four steps are the ones that decide whether a lane reconciles in five minutes or fifteen, and you settle them long before you first open the till.
Map compartments to your currency
Assign every note value you routinely handle to its own bill compartment, and every coin value in daily use to its own coin well. Leave a reserve slot for the note that turns up rarely but you must separate on arrival. Writing this map down once — denomination to compartment, left to right — is what makes a drawer layout reproducible across every lane in a chain.
Set the starting float by store policy
Size the opening float by the change your busiest hour demands, not by habit. Base it on your own transaction mix: how often the first sale of the day is a large note, how many small coins leave the drawer in an average shift, and how far the nearest bank deposit point is. The figure belongs in store policy and you should review it when pricing or payment patterns change, not fix it once and inherit it at every new site.
Keep high-value notes out of sight
The under-tray well exists for a reason. You drop large notes and anything a customer should not see lying on top below the tray and leave them there until a scheduled drop. This single habit does more for shrink reduction than most add-on security devices, because it removes the visible incentive from a drawer that is briefly open and unattended.
Label, count in, hand over
Finish with a repeatable handover. Staff count the tray against the policy float, substitute a second tray so the lane can reopen, and reconcile the counted tray at a counting station rather than on the counter. Removable insert trays make this step possible; a fixed molded tray makes it slow.
Zone and Capacity Reference
| Zone | Typical Use | Adjustable | Handover Note |
|---|---|---|---|
| Bill compartments | Notes laid flat, one denomination per slot | Yes — dividers | Counted by slot, top to bottom |
| Coin wells | Loose coin for change | Yes — coin cups | Weighed or rolled at close |
| Coin roll slots | Wrapped coin held for replenishment | Tray dependent | Counted by roll, not by coin |
| Media slots | Checks, coupons, signed slips | Fixed | Remove before you carry the tray |
| Under-tray well | Large notes and scheduled drops | No | Reconciled against the drop log |
We deliberately express values as policy and process, not as fixed amounts — the correct starting float differs by store, market and transaction mix.
Chains that run several formats get the most from this exercise. A grocery lane, a café counter, a restaurant till and a smart retail service desk rarely share a denomination mix, so standardizing on one tray layout across all four forces at least one of them into a worse counting routine. Configuring per format — while keeping the same chassis, lock and interface — keeps spares simple without flattening the layout.
Opening Behavior, Solenoids and Drivers.
How a drawer opens is a design decision with service consequences. The trigger method, the solenoid voltage and the way the drawer reports its own state are the three things that decide how you diagnose a fault two years after installation.
How a Printer-Driven Drawer Opens
The common arrangement has no smart electronics in the drawer at all. A solenoid sits inside the chassis, wired to an RJ11 or RJ12 socket, and the cable runs to the till printer's drawer port. When the POS software completes a cash sale, it sends a kick command — typically an ESC/POS pulse — down that cable, the solenoid fires, and the latch releases. Nothing else in the drawer needs to know a sale happened.
That simplicity is why the interface is worth checking before purchase rather than after. A drawer rated for 12V driven from a 24V port will behave unpredictably, and a 24V unit on a 12V supply may simply refuse to latch out. Dual-voltage solenoids remove the question entirely by accepting either supply, which matters when a rollout spans several printer generations across one estate.
Manual, Keyed and Push-Open Variants
Not every lane has wiring. A manual cash drawer opens by a release button or lever on the drawer face, with no printer connection at all. Push-open units dispense with the latch release entirely: a spring or roller holds the tray closed until you press it inward, then it travels out under its own tension. These variants suit pop-up retail, event counters and any battery operated cash register setup where a printer is not part of the till.
A three-position key lock is the usual way to combine the two worlds. One position leaves the drawer electronically controlled, one allows a manual open, and one latches it shut for transport or overnight. For a permanent counter the middle position is what staff actually use when the POS is down — which is precisely the moment you least want to be hunting for a screwdriver.
When a Cash Drawer Will Not Open
A drawer that stays shut after a cash sale has a short, ordered list of suspects: the pulse never left the printer, the cable or connector shows damage, the voltage does not match, or the solenoid itself has failed. Working that list in order takes minutes and avoids replacing a drawer that was never at fault. We keep the full diagnostic walkthrough separate so this page stays a selection guide: cash drawer will not open covers the trigger path end to end, and POS prints but the drawer stays shut isolates the printer-side cases.
Driver Support and Status Reporting
On the software side there is usually nothing to install. The till printer drives the drawer, so the printer's own driver or OPOS layer carries the kick command, and the drawer appears in POS configuration as a peripheral of the printer rather than as a device in its own right. That is why a drawer can be invisible in the operating system and still be working exactly as designed.
Status reporting is the one feature worth insisting on. A micro-switch inside the chassis closes when the tray opens, letting the POS record that the drawer actually opened, and how long it stayed that way. On a lane where staff also open the drawer manually, that record is the only reliable way to tell a genuine till event from a mis-keyed one. Pair it with a compatible receipt printer or a POS printer with a powered drawer port, and the reporting chain is complete without any extra hardware.
Trigger Method Comparison
| Trigger | Interface | Supply | Status Read-Back | Typical Setting |
|---|---|---|---|---|
| Printer kick pulse | RJ11 / RJ12 | 12V or 24V from printer | Via micro-switch | Supermarkets, restaurants, general retail |
| Manual release lever | None | None | Not reported | Backup path, service desks, mobile tills |
| Push-open tension | None | None | Not reported | Pop-up shops, events, unattended counters |
| Key override | Physical | None | Manual log only | All variants, for transport and outages |
Drawers that fail rarely fail at the solenoid first. Wear concentrates in the slider and roller path long before the latch, which is why service documentation is worth following in order rather than replacing whole units on suspicion. Our cash drawer repair overview sets out the sequence we recommend for a lane that is already in service.
What Drives Cash Drawer Cost.
Two drawers can look almost identical on a counter and differ substantially in what they cost to own over five years. These are the five variables that move the number, in roughly the order they matter.
Steel gauge and chassis construction
Chassis steel thickness is the single largest structural variable. A heavier gauge resists prying, holds its shape under an overloaded tray and keeps the drawer square so it slides cleanly a decade later. Folded and welded corners cost more than a bent sheet, and they are what stop a drawer from developing the wobble that eventually breaks a slider.
Roller and solenoid duty rating
The opening mechanism carries a rated duty cycle. Rollers and steel ball bearings outlast plain plastic sliders by a wide margin, and a solenoid rated for continuous commercial use costs more than a light-duty equivalent. For a lane that opens the till hundreds of times a day, this is the line item that decides whether the drawer is a five-year asset or a recurring consumable — and it is what separates a heavy duty drawer from a light-use one. The arithmetic behind that duty cycle in a convenience store is on what a year of c-store drawer cycles looks like.
Tray configuration and tooling
A molded tray built for one currency is inexpensive at volume. Adjustable inserts, additional coin cups and currency-specific geometry add tooling and assembly steps. Custom tray layouts — the ones cut to a market's exact denomination set — sit at the top of this scale because we dedicate the mold to a single order.
Interface options and control electronics
A plain RJ11 solenoid latch is the least expensive way to build a drawer. Adding dual-voltage tolerance, a micro-switch for status reporting and customized pinouts to match a specific printer brand each add cost — but they also remove an interface mismatch from the rollout, which is usually where the real expense sits.
Order volume and tooling amortisation
Per-unit cost falls as a run gets longer, because we spread the fixed cost of tooling, setup and quality inspection across more units. This is why a bespoke tray that seems expensive for a single counter becomes ordinary at estate scale — and why batching an order across sites is usually worth more than negotiating the unit line alone.
Cost of ownership, not cost of purchase
Add it up across the life of the drawer rather than at the till point: replacement cycles, spare trays, service visits and the labor tied to a slow counting routine. A drawer that opens cleanly for a decade and lets a cashier reconcile a lane quickly is cheaper than a lighter unit that you have to swap twice.
For high-opening lanes the duty rating usually dominates everything else. We wrote a separate walkthrough on cash drawer hardware selection for high-volume lanes that follows the same variables from a throughput angle rather than a procurement one.
One further variable is who you buy from. A quotation passed through a distributor carries a margin that a direct cash drawer manufacturer does not add, which is why we normally price wholesale and OEM/ODM programs against the whole order rather than a single unit — and why it is worth asking a supplier to quote the full rollout instead of one drawer at a time.
Cash Drawer Frequently Asked Questions.
The questions that come up most often when specifying a till, a register drawer or a cash drawer for a new lane.
What is the difference between a cash drawer and a till drawer? +
They describe the same hardware. Cash drawer is the technical term used on spec sheets and in POS configuration; till drawer is the retail and hospitality name for the drawer that holds the till. Register drawer is the North American equivalent, following the register rather than the till.
How many bill and coin compartments do I need? +
Count the note and coin values your staff actually handle in a normal shift, then add one reserve slot for the value that arrives rarely but you must separate on sight. Compact layouts typically carry four bill slots and five coin wells, standard layouts five and eight. Adjustable inserts let you re-divide the tray later if your currency mix changes.
How do I set the starting float in a retail cash drawer? +
Set it from store policy rather than habit: size the float on the change your busiest hour consumes, the frequency of large-note first transactions and the distance to your deposit point. Record the figure in policy, map it to specific compartments, and review it whenever pricing or payment behavior changes.
Why does my cash drawer not open when I print a receipt? +
Work the trigger path in order: confirm the POS sent a kick command, check the RJ11 or RJ12 cable and connector, verify the solenoid voltage matches the printer supply, then test the solenoid itself. In most cases the pulse or the cable is at fault long before the drawer is.
Can a cash drawer work with any POS printer? +
The drawer needs a printer with a powered drawer port and a matching connector and voltage. Dual-voltage 12V and 24V solenoids with standard RJ11 and RJ12 interfaces cover the large majority of receipt printers and POS terminals, and customized pinouts are available when a specific printer brand requires them.
Can I order cash drawers in bulk with a custom currency tray? +
Yes. We configure tray geometry to your denomination set, and orders can also specify pinout, chassis color, logo engraving and packaging. Tell us the currency layout, the interface and your target volume, and we will confirm the configuration and lead time for the run.