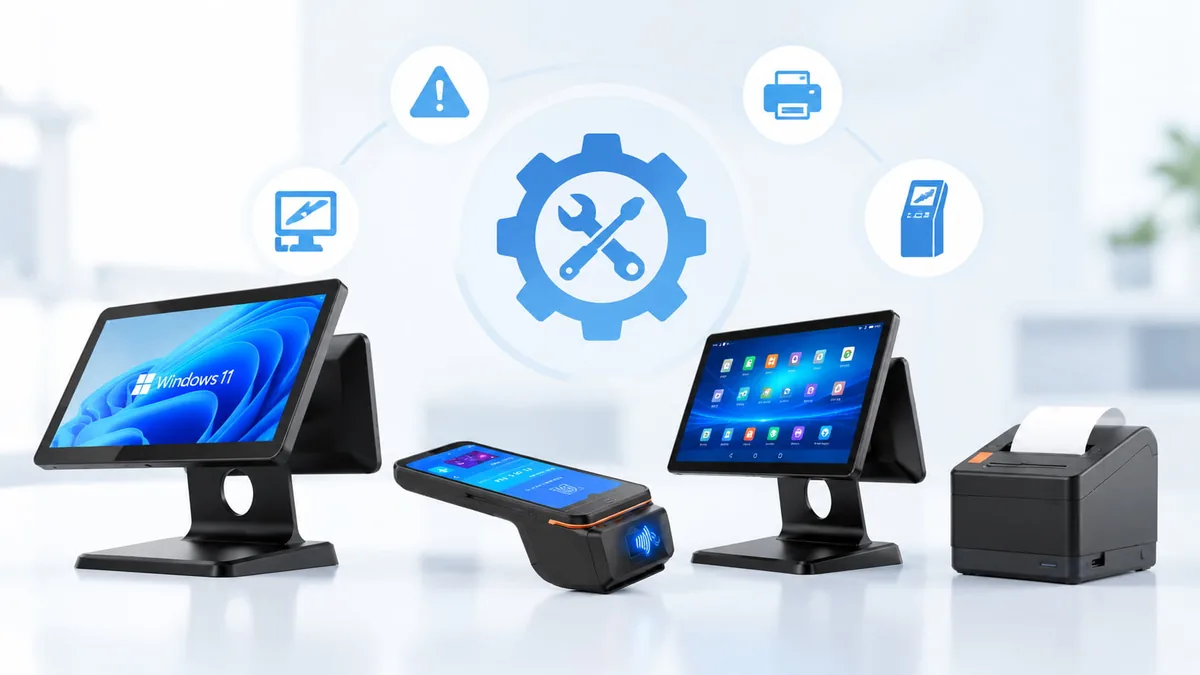
Windows OS Recovery
on a POS Terminal.
A failed update, a corrupted boot configuration or a replacement drive can all leave a Windows terminal unable to start. What decides the outcome is the order you work in: back up, choose the lightest recovery that fits, and reinstall only when repair has run out of road. It follows the same order used across our retail hardware troubleshooting guides.
Which Recovery Path Applies?
There are four recovery routes on a Windows terminal, and they are not interchangeable. Which one applies is decided by two questions: will the system start at all, and is there a recovery partition to restore from. Work out your row before touching anything, because the heaviest route destroys what the lighter ones preserve.
| Situation | Recovery path | Try first | Backup needed |
|---|---|---|---|
| It starts, but behaves abnormally | Repair install, or return to a restore point | System Restore, then a repair install | Yes — before any change |
| It will not start, but a recovery partition is present | The vendor recovery option on that partition | Startup Repair, then the Reset option | Yes — always |
| It will not start, and there is no recovery partition | A clean install from installation media | Startup Repair from the media, then a custom install | Yes — the system volume is wiped |
| The drive has been replaced with a new one | A clean install from installation media | Nothing to repair — the new drive is empty | Yes — taken before the swap |
Before You Choose: Rule Out the Six Layers
A terminal is sent for operating system recovery far more often than it needs it. Every one of the six layers below can present as a system that will not start.
Layer 1 — Power
A supply that cannot hold up under load restarts a terminal part way through the start-up, and the result is indistinguishable from a crashed installation. Confirm the adapter is the rated unit for the model. A machine that fails during the first minute of every cold start, and behaves once warm, is a power complaint rather than a Windows complaint.
Layer 2 — Cable
A drive connector that is fractionally lifted produces a system that cannot find its own boot volume, which reads as corruption. Disconnect power, reseat the drive and its lead, and unplug every peripheral before concluding anything about the installation.
Layer 3 — Media, replaced by the boot medium
A Windows terminal has no print consumable, so the media layer is read here as the boot medium: the storage device, its seating and its position in the boot order. A drive present and set first sends you to the software layers; a drive absent after reseating changes the plan to a clean install.
Layer 4 — Driver
A failed update can leave a component that prevents the system starting, which is a repair problem rather than a reinstall problem. Startup Repair and the option to uninstall the most recent update work here and preserve the installation. A storage controller mode that no longer matches the volume behaves the same way, and is corrected in the board setup screen.
Layer 5 — Software
This is the layer the rest of this guide operates on, but only after Layers 1 to 4 have been ruled out. System Restore, Startup Repair, the reset option and a clean install are all Layer 5 tools, ordered from lightest to heaviest.
Layer 6 — Hardware
The drive, the memory and the mainboard sit here, and one rule matters: do not image a failing drive. A worn drive that is imaged will fail again, after the backup window has been spent. On a Windows terminal the storage is a replaceable module, so a drive that is warm, noisy or intermittent should be replaced, then imaged.
A note on platform. This guide covers Windows terminals. Android terminals run a different system and their storage is soldered to the board, so the drive-swap guidance here does not apply to them.
Getting Into WinRE — Four Ways
Almost every recovery step starts in the Windows recovery environment. There are four ways in, and the right one depends on how much of the system is still working. Inside you will find Startup Repair, System Restore, Startup Settings, a command prompt and the option to uninstall the most recent update.
| Situation | What to do | Where it fits |
|---|---|---|
| The system still reaches the desktop | Press Win+I and go to System, then Recovery, then Advanced startup, and choose Restart now. Alternatively hold Shift while choosing Power and then Restart, keeping Shift held until the recovery screen appears. | The orderly route, when the system is usable enough to navigate |
| The system will not start | When the logo or the spinning indicator appears, hold the power button for 10 seconds to force the machine off. Repeat three times, then start it normally on the fourth attempt. The system detects the failed starts and shows “Preparing Automatic Repair”. | A terminal that hangs, loops or blue-screens before the desktop |
| The system is running and a command prompt is available | In an administrator command prompt or PowerShell window, run shutdown /r /o /t 0. The terminal restarts immediately into the recovery environment. | Remote maintenance, where nobody is standing at the terminal |
| Nothing on the machine responds at all | Create a Windows boot USB with the official media creation tool, start the faulty machine from it, and choose Repair your computer at the lower left of the installation screen. This route does not depend on the terminal itself. | A terminal whose recovery tools are damaged along with the installation |
The three failed starts are deliberate. Forcing the power off three times is a supported way to reach the recovery environment, but do it, get in, and then fix the underlying fault.
A Clean Install, in Four Stages
A clean install is the last of the recovery routes, and it is the one that removes everything on the system volume. The four stages below take a terminal from a backed-up machine to a working counter unit.
Prepare the backup and the media
Move anything of value off the system volume first: the desktop, the documents folder, any folder the POS application writes to locally, and the license keys. Copy it to a separate partition if the terminal has one, or to an external drive.
Then prepare the media: a blank USB drive of 8 GB or more, written with the image for the version your terminal runs, using Rufus or the official Microsoft tool. Confirm which build the terminal is licensed for before you write anything, because the image has to match. If your supplier has provided a recovery or customized image, use it here, because it also restores the boot logo and the pre-installed applications.
Start the terminal from the USB drive
Insert the USB drive and start the terminal while tapping the boot menu key: F12 on Lenovo, F12 on Dell, Esc on Asus and F9 on HP. Select the USB device from the menu.
If the drive is not offered, change the boot order in the board setup screen; some boards also need the secure boot setting relaxed. Before starting the installation, verify once more that the backup is complete and that you can read the files back.
Choose the custom option and format only the system partition
Choose the language, time zone and keyboard layout, then select Install now, enter the key for the license the terminal holds, and pick the edition it is entitled to. On the installation type screen, take Custom, install Windows only. The upgrade option keeps an existing installation, which is the situation you are trying to leave.
Select the original system partition and format only that one. Every other partition keeps its contents, while formatting the whole drive removes everything, including any recovery partition, with no way back. On a terminal given a new drive there is nothing to preserve, so confirm the unallocated space is the intended drive and continue.
Install the drivers, then restore the POS application
The installation finishes at a desktop with generic drivers and no peripherals working. Install the official network, graphics and chipset drivers for the model before reaching for Windows Update. Network first, because nothing else can be downloaded until it is there, then the chipset drivers.
Finally, restore the POS application and its license, the settings for the printer, the drawer, the scanner and the customer display, and the connection to the back office. Bring the peripherals back one at a time and test each one. The rest of the set of guides sits in the troubleshooting index.
Back Up First
The heaviest recovery routes rebuild the system volume, and that volume on a POS terminal is not empty. The list below decides whether the terminal comes back as the same machine or as a stranger.
What to capture before you start
- ✓ POS configuration — the till settings and the peripheral settings
- ✓ License keys for the POS application
- ✓ Locally stored transaction data, where the application keeps it on the terminal
- ✓ The machine's own record — model, serial, drive type and licensed Windows edition
- ✓ Network details — the back office address
Four rules before you reinstall
- 1. No backup, no start. The system volume is about to be wiped.
- 2. Find out where the sales data lives. On many deployments the records sit in the back office rather than on the till.
- 3. Test the backup by reading it back. A copy that has never been opened is a hope, not a backup.
- 4. Work during closed hours. The installation restarts several times.
Repair or Replace
Recovery work divides into the part a site can carry out with a USB drive and a backup, and the part that should go back to the supplier.
✓ You can do this on site
- · Enter the recovery environment by any of the four routes
- · Run Startup Repair, then System Restore or a restore point
- · Run a clean install with the vendor image
- · Replace the storage and memory on a Windows terminal
! Contact your supplier
- · Data recovery from a drive that no longer answers
- · A recovery that completes and returns to the same fault
- · A board-level fault, where a known-good drive is never detected
- · Firmware work, delivered through a verified channel
- · A customized image for a rollout, with the boot logo and applications pre-installed
Warranty and self-repair
Recovering the operating system, opening the casing to reseat a drive or fitting a replacement module does not by itself void warranty cover for non-human-induced defects. If the terminal later develops a fault unrelated to your work, it remains eligible.
Damage caused during the work is not covered. That includes static discharge, a connector broken during removal, forcing a module into a slot, fitting a part of the wrong specification, and liquid ingress. Replacement drives, memory and spare parts carry their own warranty period.
Safety boundaries
- · Use only the image and the media supplied by your supplier. An image from an unknown source can carry software you did not ask for and cannot remove.
- · Back up, and read the backup back, before the first step of any recovery. There is no second chance once the system volume is written.
- · Disconnect power and hold the power button for five seconds before opening the casing, reseating the drive or fitting any module.
- · Do not image a drive you suspect of failing. Replace it, then install, so the fault does not return after the recovery window.
Related Troubleshooting Guides
This page covers rescuing a Windows installation that has failed. Moving a working terminal to a newer version of Windows is a different job, with its own preparation and its own order.
POS Terminal Stuck on a Boot Logo
The diagnosis that comes before recovery: storage, peripheral, or installation?
Upgrading RAM and SSD in a POS Terminal
Replacing the drive a recovery is about to be installed onto.
Windows 11 POS Terminal Migration Guide
How to plan a move to Windows 11 on a working estate. That guide answers how to migrate; this page answers what to do when the system has broken.
COM / Serial Port Communication Errors
After a reinstall the port numbers and the peripheral mapping can change.
Browse All-in-One POS Terminals
Windows terminals with replaceable storage, so a failed drive is a same-day recovery.