What POS Installation Actually Involves
Most buyers picture POS installation as unboxing a terminal, plugging in a cable, and switching it on. In practice, a commercial rollout is a short project with four phases:
preparation (what arrives and where it goes),
hardware installation (mounting and connecting the physical components),
software and payment configuration (making the system transact correctly), and
acceptance testing (proving it works before the first real customer).
Skip a phase and the cost shows up later — usually on a busy Saturday. This guide walks through all four phases in order, explains who does what, and covers the two things that separate a smooth rollout from a painful one: pre-configuration before shipping, and testing that mirrors real traffic.
If you're still deciding what hardware to install, start with
what a POS system actually is and our
terminal selection guide; this article assumes the equipment is chosen and covers getting it live.
Phase 1 — Preparation: The Pre-Installation Checklist
Half of all installation problems are decided before the boxes are opened. Work through these items first:
- Site survey. Measure the counter and confirm the terminal's footprint, viewing angle, and cable routing. Check where power outlets and network ports actually are — not where the floor plan says they are.
- Network readiness. Wired Ethernet for fixed terminals wherever possible; a dedicated, documented Wi-Fi SSID for handhelds and tablets (not the guest network). Confirm the network can reach your payment gateway and your cloud POS endpoints.
- Power protection. A UPS at each lane or counter is standard practice. A brownout mid-transaction corrupts the transaction record and, in the worst case, the payment state.
- Hardware count reconciliation. Match the packing list against the order line by line — terminals, scanners, printers, cash drawers, customer displays, cables, power supplies, mounts. Missing a single interface cable halts a lane.
- Software prerequisites. POS application licenses, payment processor account details, and OS licensing settled in advance. If terminals ship with a Windows or Android image, confirm it's the one your application is certified on. For Windows deployments, check our Windows 11 migration guide so you're installing onto a supported OS.
- Label and barcode readiness. If the workflow depends on scanning, the labels must be scannable at install time — a scanner cannot rescue a badly printed code.
Two timing rules worth respecting: schedule installation outside trading hours, and never install on the same day you go live.
Phase 2 — Installing the Hardware
The physical install follows a fixed order, because each component depends on the one before it:
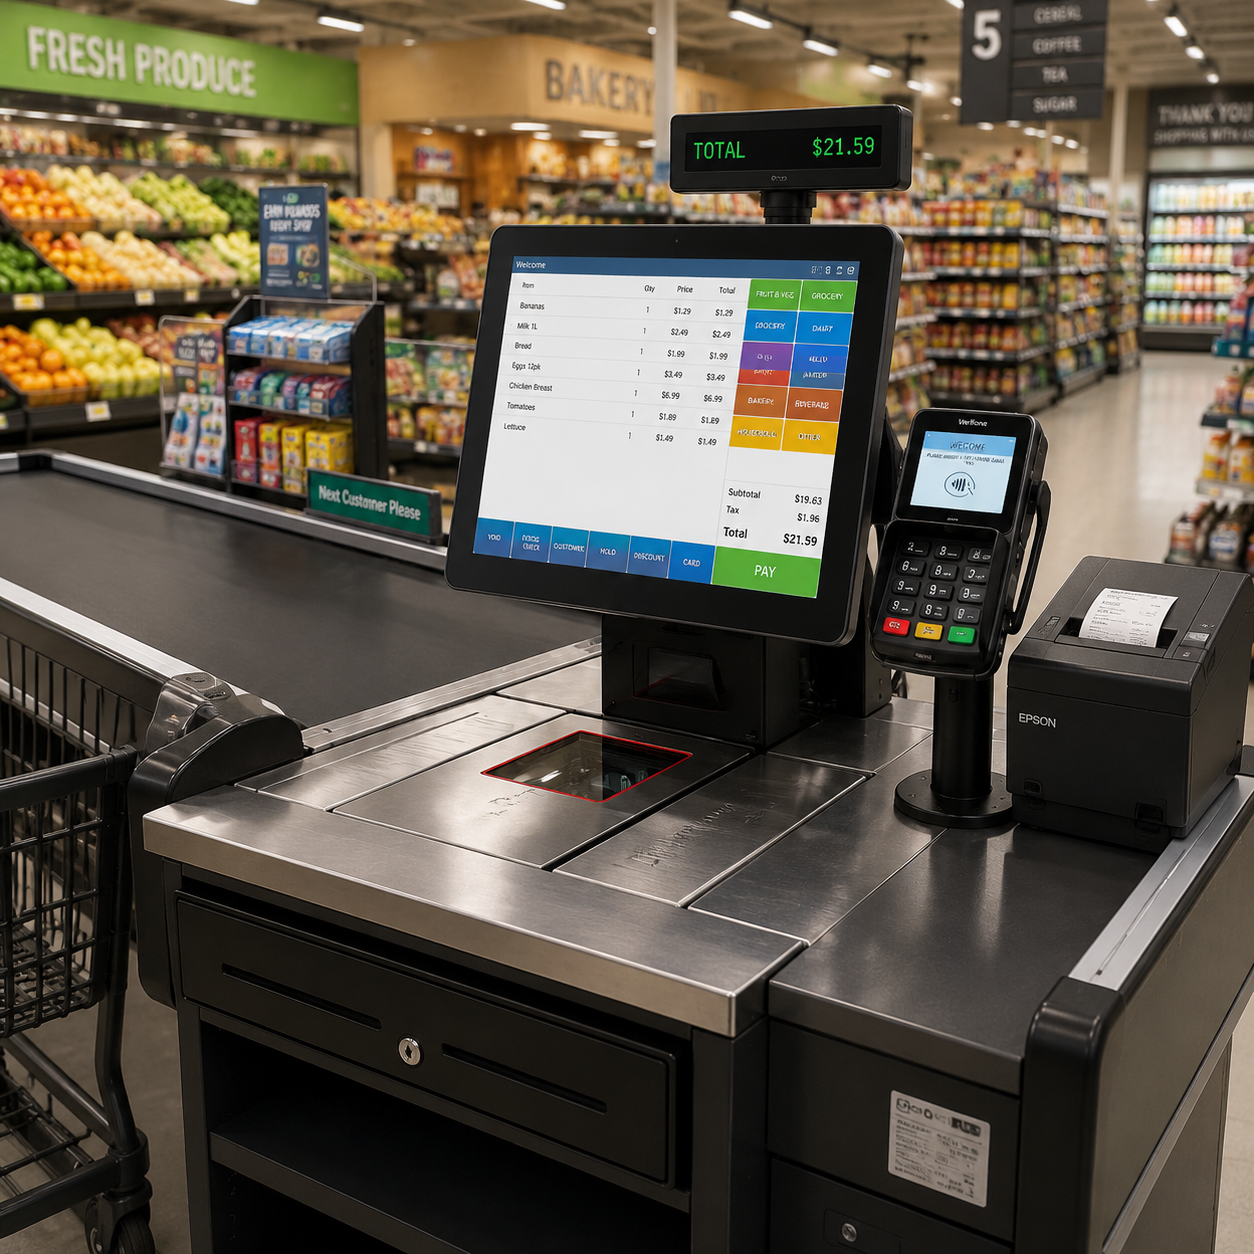
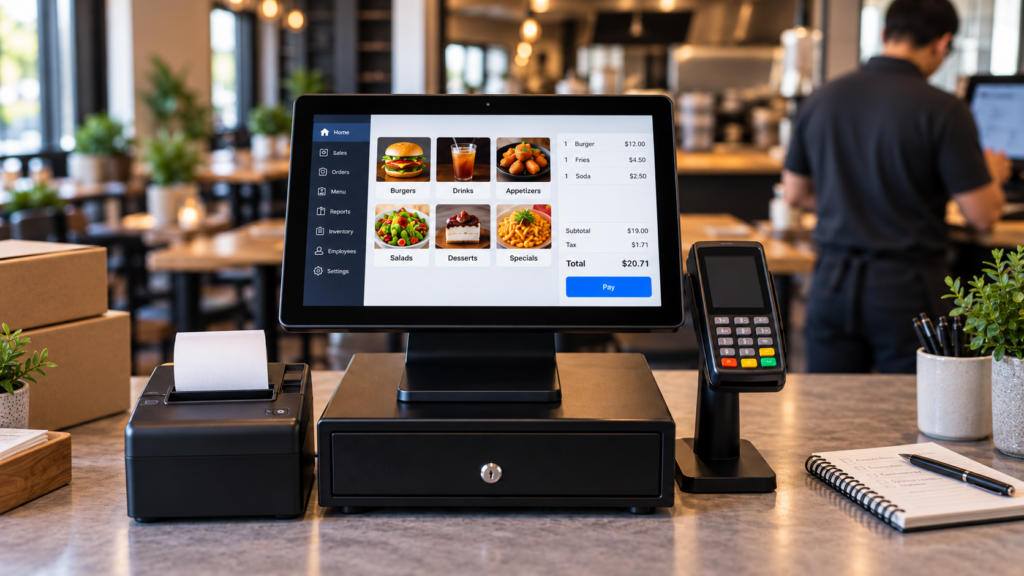
- Mount the terminal. Set the all-in-one terminal or tablet into its stand or mount at the correct height and angle for the operator — and, on dual-display units, facing the customer. Leave clearance behind for ventilation; fanless terminals still need airflow.
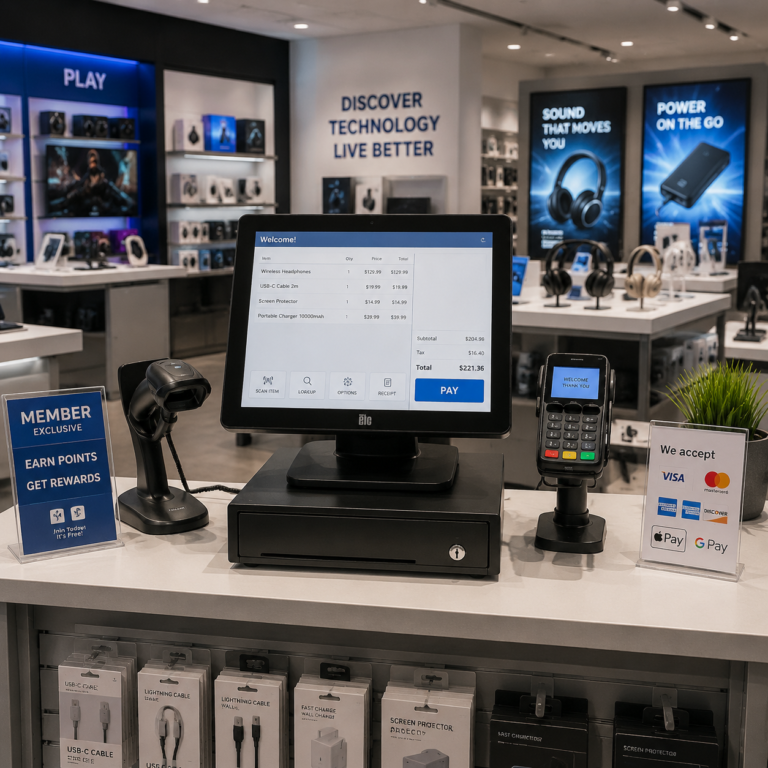
- Route and connect peripherals. One at a time, in this sequence: receipt printer (USB or serial) → cash drawer (triggered from the printer) → barcode scanner → customer display → payment device. Testing after each connection catches a bad cable immediately instead of at the end.
- Power up in the right order. Printer and peripherals first, terminal last. Devices that enumerate during boot are recognized more reliably this way.
- Secure the cables. Cable strain relief, tidy routing, and floor covers where customers walk. Cables that get kicked are the most common cause of "the printer stopped working" tickets.
- Label everything. Terminal ID, lane number, and asset tag on the unit and on the cable ends. On a multi-lane site this single step saves hours of future troubleshooting.
For the full component-by-component list in a food-service context, our
restaurant POS hardware checklist goes deeper on printers, KDS hardware, and power layout.
Phase 3 — Software, Payments, and Networking Configuration
This is the phase where hardware becomes a working system. Configure in this order:
Operating system and device settings
Set time zone, locale, keyboard layout, and language. Apply your standard OS image or settings baseline. Disable automatic OS updates during trading hours — a surprise reboot mid-service is a self-inflicted outage. Enable a kiosk-mode or restricted-user configuration so staff can't reach settings they don't need.
The POS application
Install and license the application, then configure the site profile: tax rules, product catalog, receipt layout, user accounts and permission levels. Point the application at the correct database or cloud endpoint, and confirm it connects before moving on.
Payment configuration
Pair and initialize the payment device, load merchant credentials, and confirm the EMV kernel version your processor expects. Card-handling hardware must meet the certification requirements of your market — the difference between accepted and refused hardware is documented in our
PCI and EMV certification guide — and the terminal must have the host interfaces your integration expects: USB-HID, serial, Bluetooth, or an SDK. That interface checklist is the core of our
hardware-software integration guide.
Network and peripherals, verified
Confirm the terminal has a stable connection, each peripheral responds, and the cash drawer triggers from a test receipt. Then print a real receipt on real paper stock — thermal paper quality varies widely, and a print head that can't read the black mark will cut in the wrong place.
Phase 4 — Acceptance Testing: The Go-Live Checklist
Do not go live until every line below passes on
each installed lane:
| Test |
Pass condition |
| Sale — card (chip, tap, swipe) |
Approves, prints, drawer opens, receipt correct |
| Sale — cash |
Change calculated, drawer opens |
| Sale — QR / mobile wallet |
Customer display prompts, payment settles |
| Barcode scan into the basket |
Correct item, correct price, first-pass read |
| Refund and void |
Reverses correctly in POS and in the payment record |
| Discount / loyalty lookup |
Applies, persists to the customer record |
| Offline mode |
Transactions queue and sync cleanly on reconnect |
| Report / end-of-day |
Totals match the test transactions exactly |
| Reboot |
System returns to a working checkout state unattended |
That last row matters more than buyers expect: a terminal that needs manual reconfiguration after a power cut is not production-ready. Test it deliberately.
Who Does What: The Roles in a POS Deployment
A clean rollout has four distinct roles, and confusion between them is where most delays come from:
- The hardware vendor/manufacturer — supplies configured, tested units; provides OS imaging, burn-in testing, and spare parts. TillNode's pre-configuration and OEM services exist precisely to remove work from the site visit.
- The installer or integrator — handles on-site mounting, cabling, network and payment configuration, and acceptance testing. On small sites this is often the reseller; on larger ones, a dedicated deployment team.
- The POS administrator — owns the software side: user accounts, catalog and pricing, tax rules, reporting. In small businesses this is often the owner or manager.
- The POS operator — the cashier or floor staff member who runs the terminal daily. Their competence with the system is the single biggest variable in checkout speed — which is why training belongs to the installation project, not after it — our step-by-step guide to using a POS system is the handout most rollouts give new staff.
Worth clarifying for anyone new to the industry: "POS person" in a retail job description refers to the operator or administrator — the staff member responsible for running or managing the point-of-sale system. It's a real role with real training requirements, and it's the role your go-live plan must account for.
Training: The Step Everyone Skips
An installed, tested system staffed by untrained operators is the most expensive way to deploy a POS. Budget for it explicitly:
- Two sessions, not one: a hands-on session on the actual hardware before go-live, and a refresher a week after (first-week questions only emerge under real traffic).
- Scenario-based, not menu-based. Teach the busy-period flow, refunds, voids, split payments, and what to do when the printer jams — not a tour of every screen.
- Name a first-line expert per shift. One trained person on each shift who can handle the common exceptions stops small issues from escalating.
- Document the breakers. A one-page sheet at the counter: how to restart the terminal, how to switch to offline mode, who to call. This is the highest-value page in the whole deployment.
What "POS Experience" Means After Installation
Once the system is live, everything the customer and staff feel at the counter is the
POS experience — how fast a basket is scanned, whether the customer screen answers the total before the question is asked, how few clicks a refund takes. Installation quality is most of it: cabled correctly and tested properly, a terminal disappears into the workflow; installed carelessly, it generates friction daily.
Three installation decisions drive most of the operational experience later:
- Terminal and display placement — determined at install, hard to change later. A customer-facing display that faces the wrong way never gets used.
- Peripheral response time — a printer that takes four seconds to wake or a drawer that hesitates adds four seconds to every transaction, thousands of times a year.
- Offline resilience — the difference between a network blip that nobody notices and a queue that reaches the door.
Multi-Site and Kiosk Rollouts: Where Pre-Configuration Pays
Single-site installations are projects. Multi-site rollouts are logistics, and the economics change:
- Ship units pre-configured. Factory OS imaging, application pre-installation, and asset tagging mean the site visit becomes mount-and-test instead of configure-from-scratch. This is the difference between a 90-minute and a 20-minute install per lane.
- Burn-in before shipping. Aging tests at the factory (48–72 hours of continuous operation) catch panel and board defects before they reach a store, where a failure costs far more than the unit.
- Standardize the kit. Identical terminals, printers, and mounts across sites turn installation into a repeatable procedure and make spare parts a single SKU.
- For self-service kiosks, plan for commissioning — kiosks need calibration of touch, scanner aim, and printer alignment on site, plus a defined remote-monitoring path so issues surface before customers find them.
Common Installation Mistakes
- Installing on go-live day. No room to fix anything that surprises you.
- Testing with a single transaction type. Card works, QR doesn't — and you find out from a customer.
- Ignoring the upstream network. Two-thirds of "POS problems" are actually connectivity problems.
- No UPS. Cheap insurance against the most expensive failure mode.
- Skipping offline-mode testing in a store that will absolutely experience an outage this year.
- Training after opening. The first day's customers pay the tuition.
- Unlabeled cables and terminals. Costs nothing to prevent, hours to work around.
FAQ
How long does POS installation take?
A single checkout lane typically takes 45–90 minutes from unboxing to tested system, assuming the site is prepared and the unit is not pre-configured. Pre-configured hardware with a factory OS image cuts this to roughly 20–30 minutes. A full multi-lane store with kiosks is a scheduled project, usually planned across one to several nights.
Can I install a POS system myself?
Yes, for a single store with standard hardware and a plug-and-play application — the steps above are complete enough to follow. Use an integrator when payment certification must be validated on site, when networking is complex, or when multiple lanes and kiosks need to be commissioned in a short window.
What is a "POS person" in a store?
It's the staff member who operates or administers the point-of-sale system — a cashier, keyholder, or manager. In job descriptions and deployment plans, POS roles split between
operator (runs the terminal daily) and
administrator (owns configuration, users, and reporting). Every rollout needs at least one trained person per shift.
What is POS experience?
POS experience is the combined experience of customers and staff at the point of sale — how quickly and smoothly a transaction completes, how clear the prompts are, and how the system behaves when something goes wrong. It's shaped mainly by two things: how well the hardware was installed and how well the software fits the actual service flow.
Do I need to reinstall everything when changing POS software?
Rarely. Most commercial terminals are OS-level hardware that run any compatible application; changing software usually means re-imaging the terminal and re-pairing the payment device, not replacing the hardware. Confirm application certification for your specific terminal model before switching.
Rolling out POS hardware across one store or a hundred? Talk to TillNode about pre-configured, burn-in tested units that arrive ready to mount and test — or explore our OEM/ODM deployment services.